book banner

DIY Halloween Mug Cozy

This is the end of the year! Holidays are in the air. Let us prepare for the holidays: Halloween, Thanksgiving, Christmas, New Year! YAY! Last year I made a tutorial of Thanksgiving greeting card in kurumie style, this year I make for Halloween: mug cozy!


DIY Halloween mug cozy tutorial and pattern

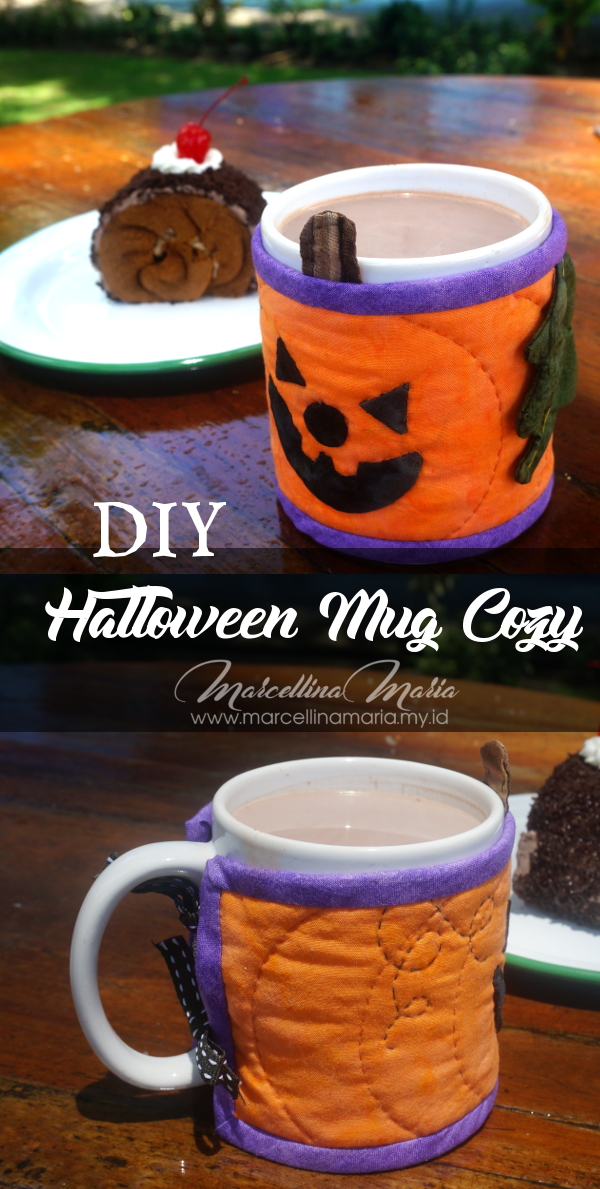
This mug cozy will decorate your table with cute Halloween theme. It is easy to make, especially if you can sew. You can buy the pattern at my pattern shop. And here is how to make it:
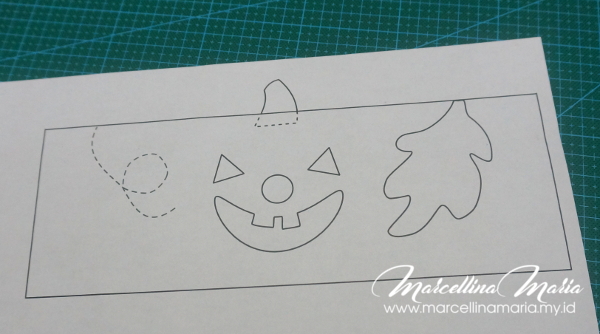
1. Print the patterns, then cut.
DIY Halloween mug cozy tutorial and pattern

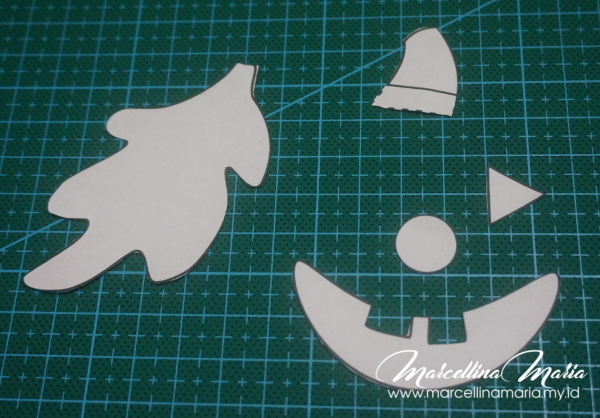
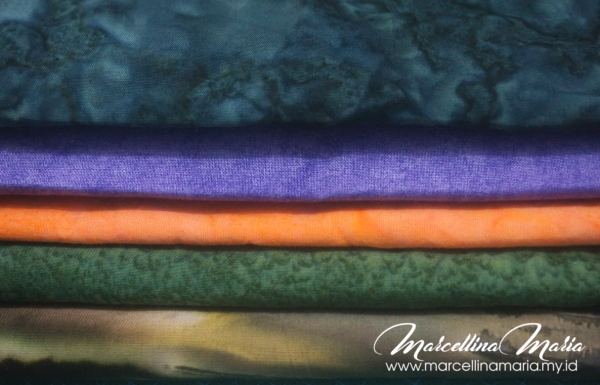
2. Prepare the fabrics. I use five different colors of fabrics.
DIY Halloween mug cozy tutorial and pattern
3. Cut out the fabrics according to the pattern, add 0.5 cm seam for the sewing. The pattern doesn’t include the seams.
DIY Halloween mug cozy tutorial and pattern
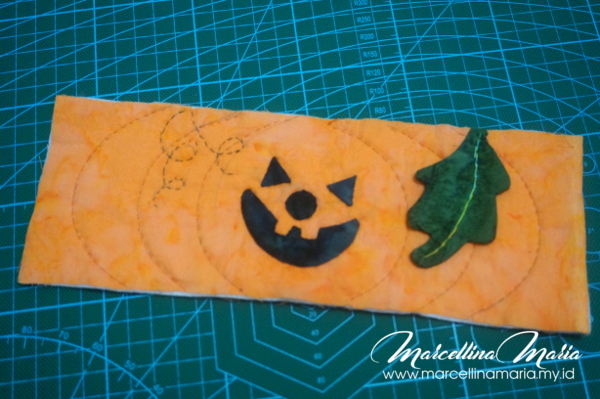
4. Hand sews the applique of Jack O 'Lantern’s face (eyes, nose, and mouth) to the base fabric according to the pattern. Then prepare the batting.
DIY Halloween mug cozy tutorial and pattern
5. Draw a quilting pattern on the quilt top (the one with Jack’s face). I use an oval shape jar lid to make it easier to copy the curved pumpkin pattern.
DIY Halloween mug cozy tutorial and pattern
6. Basting all three layers: quilt top, batting, and backing. Then start quilting on eyes, nose, mouth, pumpkin lines, and make quilting also for pumpkin tendrils. If you can’t draw the tendrils by yourself, I also provide the quilt pattern in pdf file.
DIY Halloween mug cozy tutorial and pattern
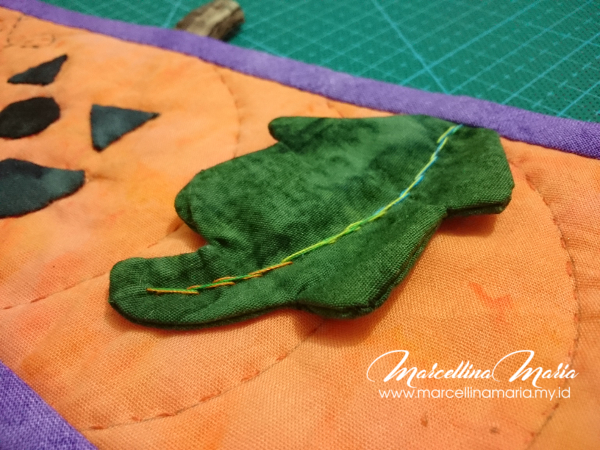
7. Sew the leaf and the stem as the pictures. Attach the leaf at the quilt top.
DIY Halloween mug cozy tutorial and pattern
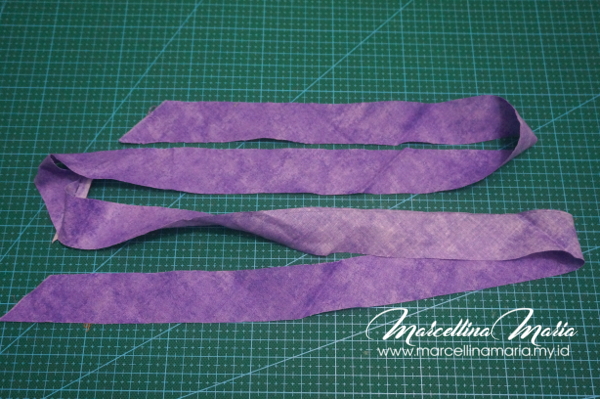
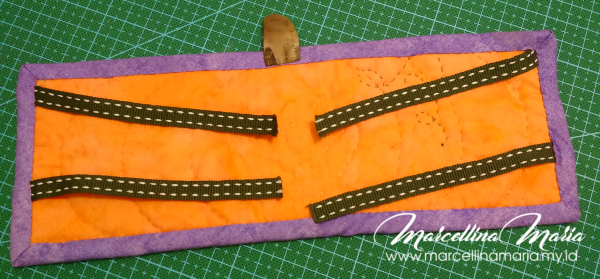
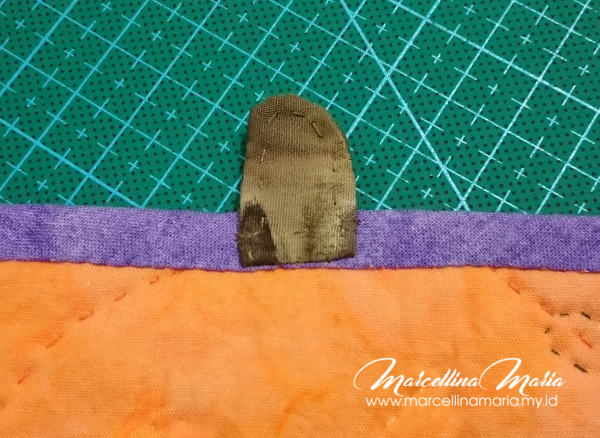
8. Prepare a 72 cm long bias tape for bindings. Cut four ribbons to tie the cozy mug to the mug. Sew the binding and ribbons as the picture. Then sew the stem at the back of cozy mug as you can see in the picture.

DIY Halloween mug cozy tutorial and pattern

DIY Halloween mug cozy tutorial and pattern

DIY Halloween mug cozy tutorial and pattern

DIY Halloween mug cozy tutorial and pattern

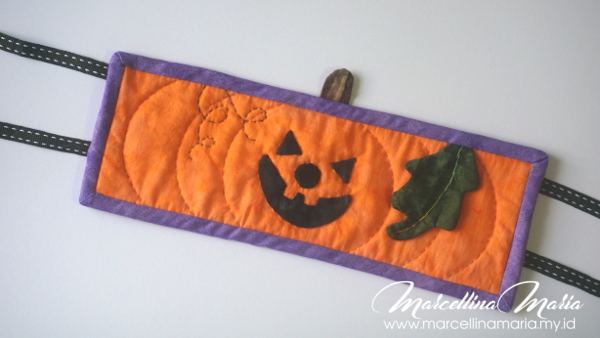
Cozy Mug ready to decorate your table.


Comments   

0 #23 Teresa 2017-10-27 08:25
That's so cute! Thank you for joining The Really Crafty link Party this week, Pinned!
Quote
0 #22 Krystle Cook 2017-10-26 14:30
This looks easy enough even for someone who normally doesn't do crafts. I need to give it a try!
Quote
0 #21 Bobbi 2017-10-26 14:30
This looks like it is so cute! I totally need something like this for my mug!
Quote
0 #20 Blair villanueva 2017-10-26 09:22
These are cool! Am inspired to make my own version. Love it!
Quote
0 #19 Colette 2017-10-25 14:36
You are so creative!
I am usually not, but I can follow directions :)
Thanks for sharing.
Quote
0 #18 Kelly Hutchinson 2017-10-25 12:03
This is the cutest mug cozy ever! I can sew, but the quilting ting always gives me trouble.
Quote
0 #17 Stephanie Jeannot 2017-10-25 08:05
Oh t his is like a cup sleeve. I always love those things for keeping my hands from burning. Especially for boiled water than tends to be hotter than coffee to me sometimes. Very creative.
Quote
0 #16 Azlin Bloor 2017-10-24 20:42
Oh wow, that is just so cool. I love how easy, practical and pretty it is. Will show it to my kids, thank you!
Quote
0 #15 1stopmom 2017-10-24 18:19
This mug wrap is adorable. The tutorial is easy to follow too. Thanks for sharing such a cute and easy craft
Quote
0 #14 Shannon Sawicki 2017-10-24 15:52
What a cute idea, this wold be a great present for teachers and daycare leaders.
Quote

Add comment


Copyright (c) MarcellinaMaria 2015. All rights reserved.
Designed by olwebdesign.com

All photos and graphic in this site are created by me. Please considered that all photos, graphics, and contents are copyrighted.

This website contains affiliate links.

If you like my website, you can donate or buy ebooks from my affiliate e-stores at the right menu. That will help me to maintain this website.

Most of photos at this website were created by me, but sometimes when I hurried, I took free pictures from Freepik and did some editing.